
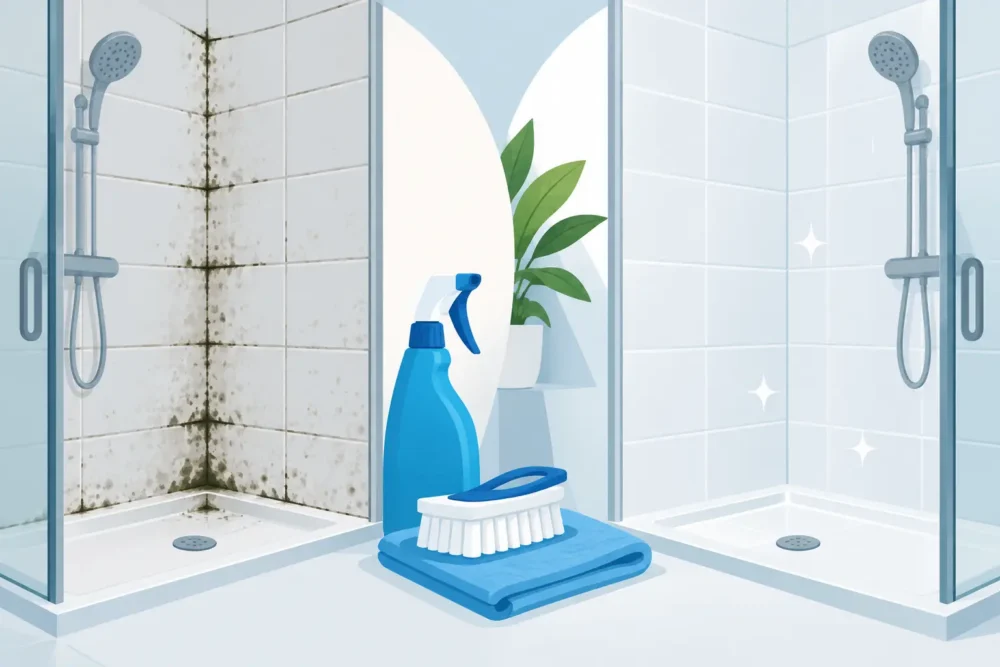
A few dark spots along a shower corner can turn into a larger problem quickly, especially in Orlando’s humid climate. Knowing how to remove shower mold safely can improve the look of your bathroom and help you catch failing caulk, grout, or tile before moisture reaches the wall behind it.
Mold is not always a sign that a shower needs to be replaced. In many cases, surface growth responds well to careful cleaning and better daily ventilation. But if the staining keeps returning, spreads beneath caulk, or appears around loose tile, cleaning alone will not solve the source of the problem.
Why Mold Keeps Returning in Showers
Showers provide what mold needs most: moisture, warmth, and surfaces where soap residue can collect. Grout lines, silicone caulk, textured tile, shower curtains, and corners with limited airflow are common trouble spots.
Florida bathrooms can be especially prone to repeat growth because outdoor humidity makes it harder for a shower to dry completely. A bathroom fan that is too weak, turned off too soon, or not vented outdoors can leave damp air trapped in the room long after a shower ends.
Surface mold can also return when caulk has separated from the wall or shower pan. Small gaps let water sit where it cannot be wiped dry. Cracked grout can create a similar issue, allowing moisture to work behind the finished tile surface.
Before You Remove Shower Mold, Check the Surface
Start by looking closely at where the discoloration is located. Mold sitting on intact tile, glass, or sound caulk is generally easier to clean than growth that seems embedded behind or beneath a damaged material.
If you see staining only on the surface, a thorough cleaning may be enough. If caulk is peeling, grout is crumbling, tile sounds hollow when tapped, or the wall feels soft, pause before applying more cleaner. Those signs can point to moisture damage that needs repair.
For a small cleaning job, open the bathroom window if you have one and run the exhaust fan. Wear gloves and eye protection, particularly when using a commercial mold cleaner. Never mix cleaners. Combining bleach with ammonia, vinegar, acids, or other household products can create dangerous fumes.
How to Remove Shower Mold Safely
Start with a basic wash
First, remove shampoo bottles, bath mats, and other items around the affected area. Wash the tile and grout with warm water and a bathroom-safe cleaner to cut through soap scum and body oils. Mold cleaner works better when it can reach the stained surface instead of sitting on residue.
Use a nonabrasive sponge or soft nylon brush. Avoid steel wool, harsh scouring pads, or metal tools, which can scratch tile glaze, shower glass, and fixtures. Scratches hold moisture and grime, making future cleaning more difficult.
Apply the right cleaner for the material
For ordinary surface mold on ceramic or porcelain tile, a bathroom mold and mildew product used according to its label can be effective. A 3% hydrogen peroxide solution is another option many homeowners use for small areas. Spray it on the affected spot, allow it to sit for several minutes, then scrub gently and rinse well.
Bleach products can lighten dark stains on nonporous surfaces, but they are not always the best answer for grout or porous materials. They may discolor certain finishes and can be hard on older caulk. Use them only as directed, with plenty of ventilation, and never combine them with any other cleaner.
Vinegar is sometimes recommended for household cleaning, but it is not suitable for every shower. Do not use acidic cleaners on natural stone, including marble, travertine, limestone, or some stone mosaics. Acid can etch the surface and leave permanent dull marks. If you are unsure what material is in your shower, choose a pH-neutral tile cleaner or ask a tile professional before treating it.
Scrub grout and corners with care
Use a grout brush or old soft toothbrush to work cleaner into grout joints, around fixtures, and along shower corners. Do not dig aggressively into cracked grout or caulk. The goal is to clean the surface, not widen an existing failure.
Rinse thoroughly with clean water. Leftover cleaner can leave a film that attracts dirt or causes discoloration. Finish by wiping tile, glass, fixtures, and the shower floor dry with a clean towel or squeegee.
Treat shower curtains and removable items separately
If the mold is on a fabric shower curtain or liner, wash it according to the care label. Plastic liners may be cleaned with a bathroom-safe product and rinsed well, but replace them if staining remains embedded or the material is brittle. Wash bath mats often and let them dry completely between uses.
When Shower Mold Is More Than a Cleaning Problem
Cleaning should improve surface mold noticeably. If black or brown staining comes back within days or a couple of weeks, moisture is likely staying trapped in the same location.
Pay attention to mold that appears under clear caulk, at the joint between the shower pan and wall tile, or along a cracked grout line. Caulk with dark staining beneath it usually needs to be removed and replaced, not simply cleaned from the outside. Likewise, grout that is missing, cracked, or soft should be repaired and properly sealed when appropriate for the tile system.
There are situations where it makes sense to bring in a remodeling professional. Consider an inspection if you notice a persistent musty smell, water stains on a wall or ceiling near the shower, loose tiles, soft drywall, recurring leaks, or mold covering a large area. These issues can indicate water has traveled beyond the finished surface.
A shower remodel may be the smarter long-term choice when an older shower has repeated caulk failures, worn tile, damaged backing materials, or a layout that never drains or ventilates well. Replacing a failing shower surround gives homeowners an opportunity to correct waterproofing concerns, improve storage, update tile, and create a bathroom that is easier to maintain.
How to Keep Mold From Coming Back
The best way to prevent mold is to reduce how long the shower stays wet. After each shower, use a squeegee or towel on glass doors, tile walls, and the shower floor. It takes less than a minute and removes the standing water that feeds repeat growth.
Run the bathroom exhaust fan during the shower and for at least 20 to 30 minutes afterward. If your bathroom has no fan, opening a window and keeping the door open after bathing can help, although a properly vented exhaust fan is usually the more dependable solution.
Keep shower products organized so water does not collect behind bottles or in crowded corners. Clean the shower regularly before soap scum becomes heavy. For grout, use a cleaner made for your tile type rather than relying on harsh products every week.
Inspect caulk and grout a few times each year. Small repairs are far easier and more budget-friendly than waiting until water has damaged the wall behind the tile. Homeowners should also check that the shower door, curtain, and plumbing fixtures direct water into the shower rather than onto the bathroom floor.
A Better Shower Starts With Sound Materials
A clean shower should feel fresh, not like another maintenance problem waiting to return. When mold is caused by worn caulk or neglected ventilation, a focused repair may be all that is needed. When it points to aging tile, failing grout, or hidden moisture damage, addressing the construction behind the surface protects your home and gives you a chance to create the bathroom you actually want to use.
For Orlando homeowners planning a shower update, Work Tile LLC can help evaluate practical options for durable tilework, updated surrounds, and a polished finish built for everyday life. A well-installed shower with sound materials and proper maintenance makes it easier to keep your bathroom clean, comfortable, and ready for the years ahead.